In the construction of electronic circuits, the proper connection of relays is critical to ensure that they function properly. Whether in industrial automation equipment, smart home systems, or automotive electronic circuits, it is crucial to connect relays accurately. Today, MobikeChip will introduce you how to connect relays in detail to help you build stable and reliable circuits.
1. Preparation before connecting
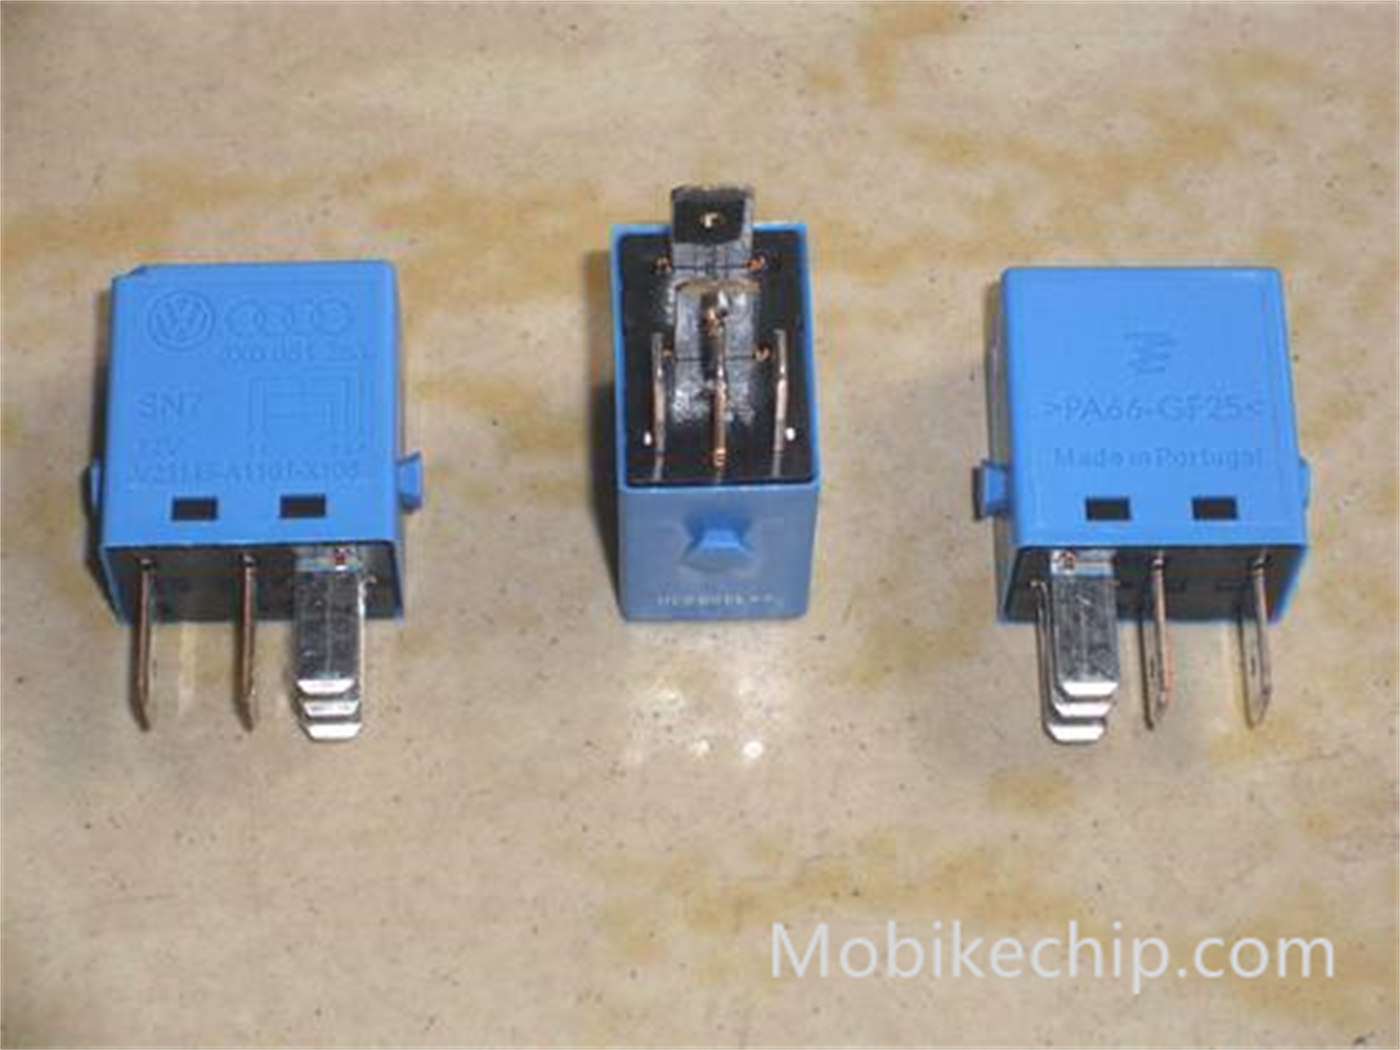
(i) Confirm the relay specifications
Before connecting a relay, the first thing to do is to double-check its specifications. Check the model number of the relay and clarify its rated operating voltage and current, as well as the load capacity of the contacts. Relays with different specifications are suitable for different circuit scenarios, and improper use may cause the relay to fail to work properly or even damage circuit components. For example, if a relay rated at 12V is connected to a 24V power supply, it is very likely that the coil will be burned due to the high voltage. Therefore, be sure to select the appropriate specification of the relay according to the actual circuit requirements, and carefully check its parameters.
(ii) Preparation of connection tools and materials
Preparing suitable connection tools and materials can make the connection process smoother. Commonly used tools include soldering iron, screwdriver, wire strippers and so on. Soldering iron is used to weld the connection point to ensure a solid electrical connection; screwdriver is used to tighten the screws to fix the relay and terminals; wire stripper is used to peel off the insulation of the wire to facilitate the connection with the relay pins. In terms of materials, it is necessary to prepare sufficient length and size of the wire, the cross-sectional area of the wire should be selected according to the size of the current passing through the circuit to ensure that it can carry the appropriate current without heating. In addition, you also need to prepare solder wire, rosin and other welding materials, as well as insulating tape, heat-shrinkable tubing, etc. for insulation.
(iii) Planning circuit layout
Reasonable planning of the circuit layout is essential for the connection of the relay. Before connecting, first draw a good circuit schematic diagram to clarify the position and role of the relay in the circuit, as well as the connection relationship with other components. Consider the installation location of the relay, which should be well ventilated, dry and away from heat sources and strong magnetic fields to ensure the normal working environment of the relay. At the same time, make sure that the wires are wired neatly and orderly to avoid cross-tangling, reduce electromagnetic interference and improve the stability and reliability of the circuit.
2. Coil connection
(i) Determining the control power supply
The coil of the relay needs to be connected to a suitable control power supply to operate. Select a power supply that matches the rated operating voltage of the relay. Common control power sources include DC power sources and AC power sources. Be sure that the type and voltage of the power source match the requirements of the relay. For example, for a DC 12V relay, a DC power supply with an output voltage of 12V should be selected.
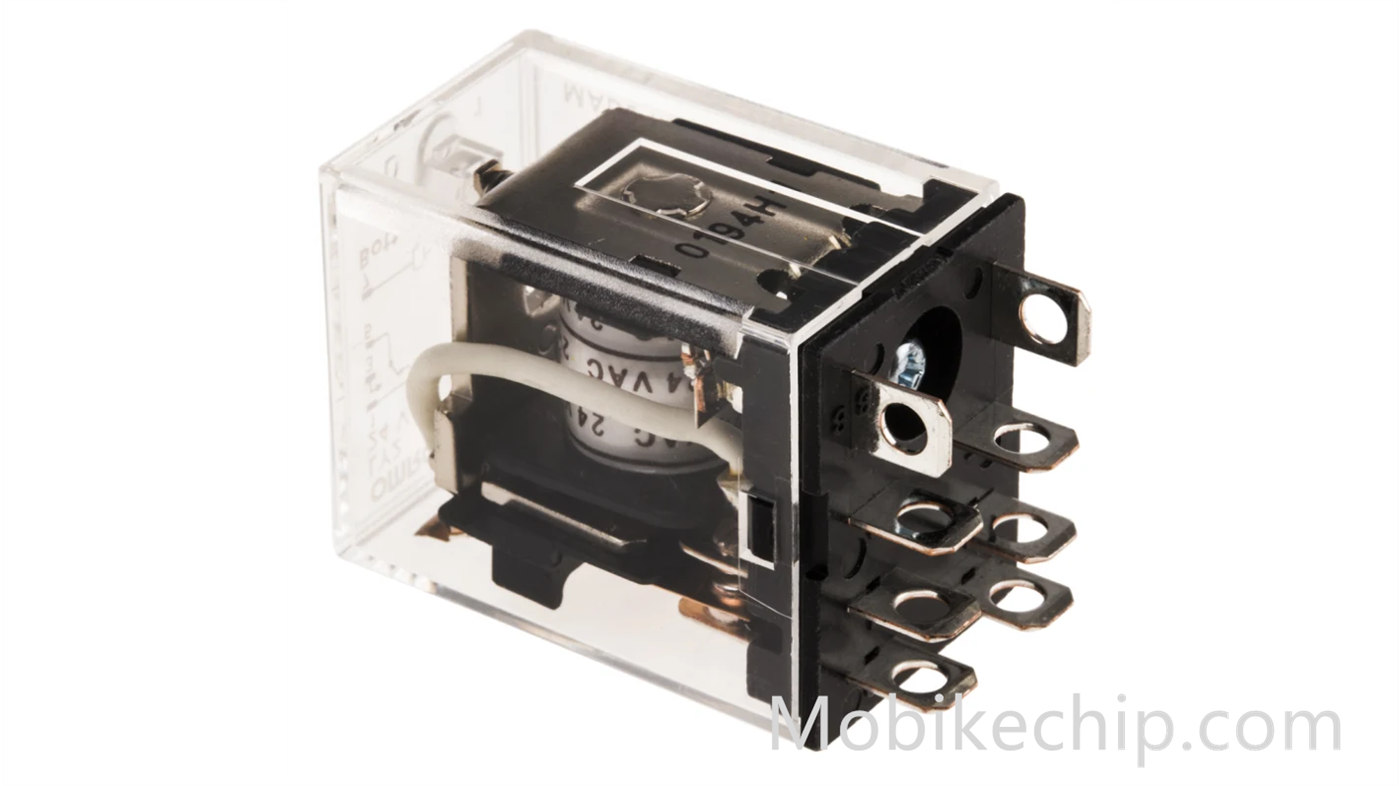
(ii) Connecting the coil pins
Use wire strippers to strip the insulation of the wires connected to the coil to an appropriate length, generally 1 - 2 cm. Then, connect the stripped wires to the two pins of the relay coil. For relays with polarity requirements, special attention should be paid to the connection of positive and negative terminals. Reversing the positive and negative terminals may cause the relay to fail to operate properly or be damaged. The connection can be made by soldering or screwing. If welding is used, a thin layer of solder is first plated on the pins, and then the wires and pins are firmly welded to ensure that the weld points are smooth and free of false welding; if screw fastening is used, the wires are inserted into the holes of the terminals, and the screws are tightened to ensure that the connection is tight.
(iii) Add protection components (optional)
In order to protect the relay coil and prevent the induced electromotive force generated at the moment of power on/off from damaging other components, a diode (for DC relays) or a resistor-capacitor absorber circuit (for AC relays) can be connected in parallel at both ends of the relay coil. For DC relays, the negative terminal of the diode should be connected to the positive terminal of the power supply, and the positive terminal to the negative terminal of the power supply, so that when the power supply is disconnected, the diode is able to provide a discharge circuit for the induced current generated by the coil and protect the circuit components.
3. Contact connection
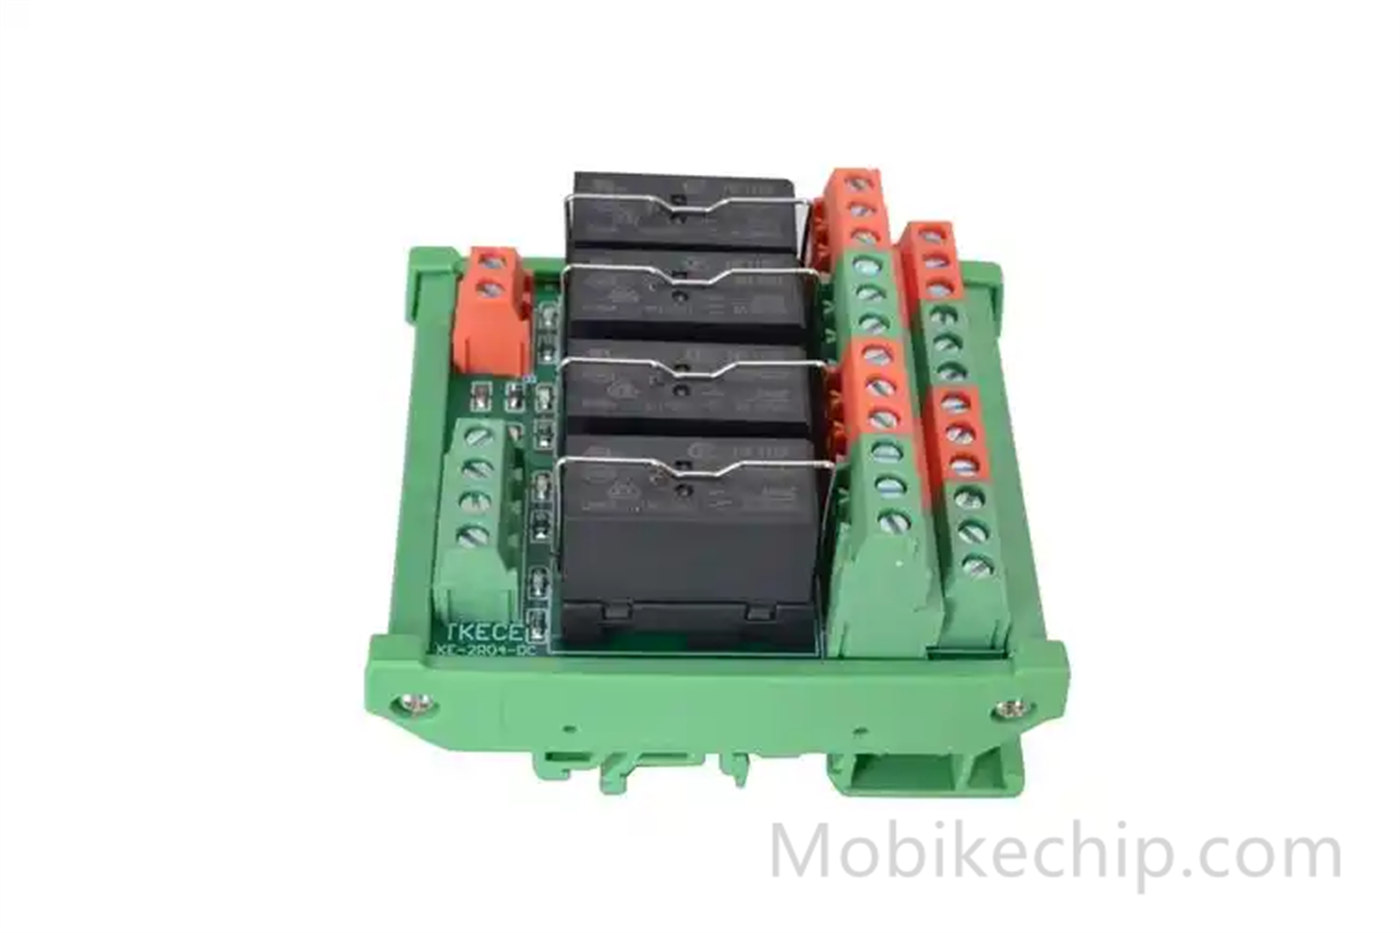
(i) Defining the main circuit load
Before connecting the relay contacts, it is important to clearly understand the type and power of the load connected to the main circuit. Loads may be motors, lamps, heaters, and various other electrical devices. According to the rated current and voltage of the load, select relay contacts of appropriate specifications to ensure that the contacts can withstand the operating current and voltage of the load and will not be damaged due to overloading.
(ii) Connecting contact pins to loads
Strip the wires connecting the loads according to the above method, and then connect them to the contact pins of the relay. For normally open contacts, when the relay is not energized, the contacts are in the disconnected state, and when the relay is energized, the contacts close and the main circuit is connected; for normally closed contacts, the situation is reversed. When connecting, care should be taken to differentiate between normally open and normally closed contacts to ensure that they are connected correctly. Similarly, the connection can be welded or screw fastened to ensure the reliability of the connection.
(iii) Checking the reliability of the connection
After the contact connection is completed, carefully check whether the connection is firm. Gently pull the wire to ensure that the connection to the contact pins will not be loose. For important circuit connections, you can use the resistance of the multimeter to measure the resistance of the connection point, the resistance value should be zero or close to zero, if the resistance value is large, it means that there is a problem with the connection, may be poor contact, and need to re-check and connect.

4. Test and inspection after connection
(i) Appearance check
After the connection is completed, first carry out an appearance check. Check whether the relay is firmly mounted, whether the connection of pins and wires is neat and beautiful, and whether the insulation treatment is in place. Make sure that no wires are exposed to avoid short-circuit or electric shock accidents. At the same time, check whether there are sundries around the relay to keep the working environment tidy.
(ii) Power-on test
After ensuring that the appearance check is correct, carry out the power-on test. Before energizing, reconfirm whether the voltage of the control power supply and the main circuit power supply is correct, and whether the circuit connection is in accordance with the schematic diagram. Then, turn on the control power supply and observe whether the relay operates normally and whether a clear “click” sound can be heard, which indicates that the armature of the relay is normally absorbed. At the same time, observe whether the main circuit load is working normally, such as whether the motor is rotating, whether the lamps light up. If any abnormality is found during the test, such as relay inactivity, smoke, odor, etc., you should cut off the power immediately to investigate the cause of the fault.
At MobikeChip, we not only provide high-quality relay products, but also committed to provide you with professional technical support. Mastering the correct relay connection method is the foundation of building a stable circuit. If you have any questions about relay connection, selection or other electronic components, please feel free to visit MobikeChip website, our professional team will be happy to serve you.
Category page: Relays-Supplier-Buy | Manufacturers-Dealer-Sample-MobikeChip